Upload documents
Prepare and upload transcripts, passport scans, English certificates, payment receipts, and application-specific requirement files.
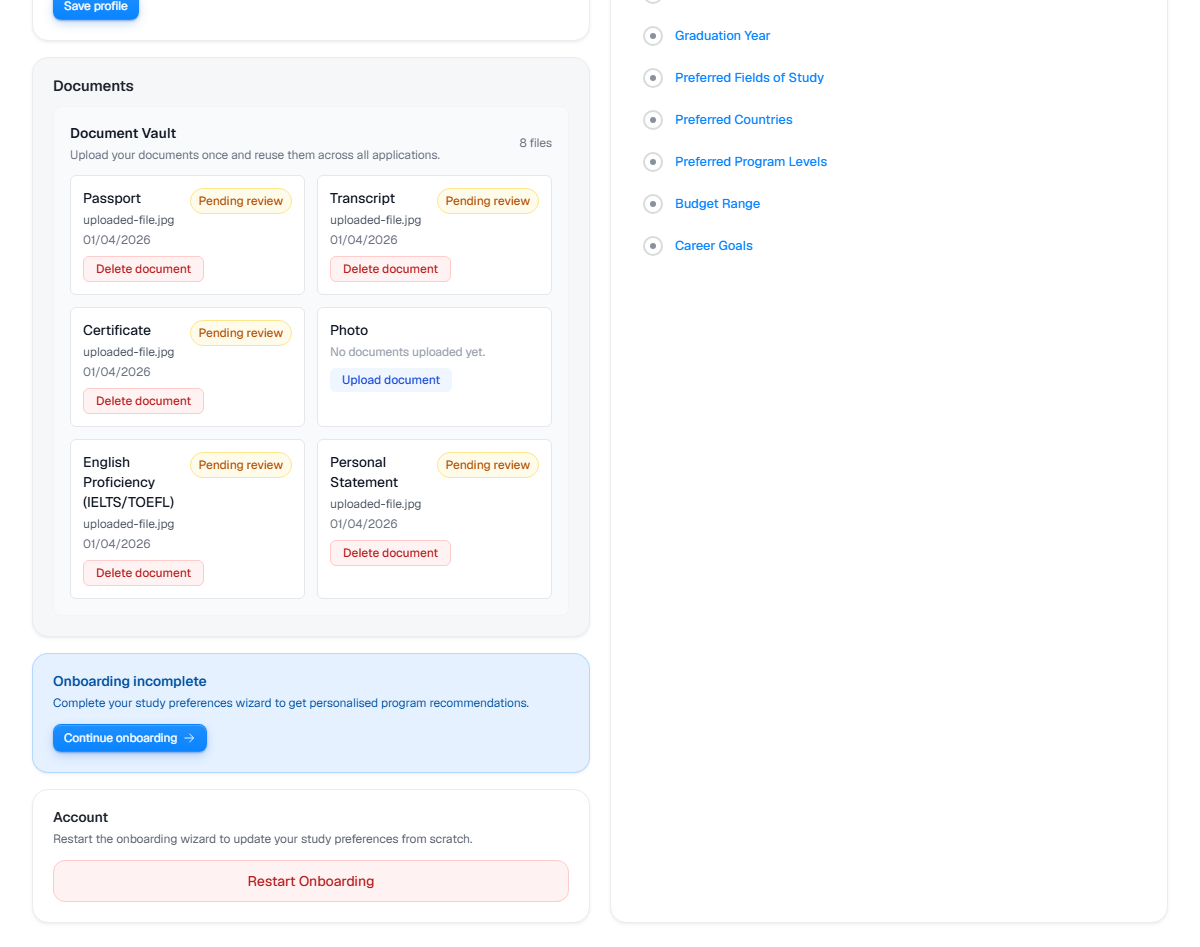
Live product screen
This visual uses the current UniGeni.ai route instead of a mockup.
Capture source
Use the source URL when this screenshot needs to be refreshed after a UI release.
Follow the workflow
Use the profile document vault for reusable files
Upload identity and academic files from Dashboard > Profile when the same document may support multiple applications.
Open document vaultUse application requirements for program-specific files
Some applications ask for a specific document, payment receipt, or requirement. Upload those from the application detail page.
Open applicationsCheck file readability before upload
Use clear scans, complete pages, and readable file names. If a counselor requests a replacement, upload the corrected file to the same requirement.
Watch review status
Counselors and institution staff may mark requirements as reviewed, missing, or needing follow-up tasks.
Questions
Where do I upload my transcript?
Start in Dashboard > Profile for reusable transcript storage, then check each application requirement to see if the transcript must be attached there too.
Can a counselor see my documents?
Counselor document review exists for assigned workflows, but access should follow the student/counselor relationship and application permissions.
Was this guide useful?
Related guides
Complete your student profile
Build a stronger profile by adding your name, study preferences, education level, graduation year, and academic results.
Submit an application
Choose a program, confirm the institution and intake, review details, and submit only when your profile and documents are ready.
Work with counselor support
Understand how students and counselors collaborate on shortlist review, document review, follow-up tasks, notes, and application readiness.